

Have you hung your artwork and it just doesn't look quite right? There's something off and you can't put your finger on it? We're here to help! Read our top tips below (especially #1!) for displaying your art like it belongs in an interior design magazine.
TIP #1: The right height
Many make the mistake of hanging their art too high. The center of your artwork should fall at about the viewer's eye level. A good rule of thumb is to hang your art so the mid-point is about 57 inches high. If the room has tall ceilings, you can display it a little higher.
TIP #2: The right width
If you're hanging artwork above furniture, such as a sofa, console table, or bed the width of the artwork should take up about 2/3 to 4/5 the width of the furniture. For example, if your furniture is 60" long, your artwork should take up at least 40" in width (this includes sets of art). This is not a hard set rule and you may have to go bigger or smaller depending on the space.
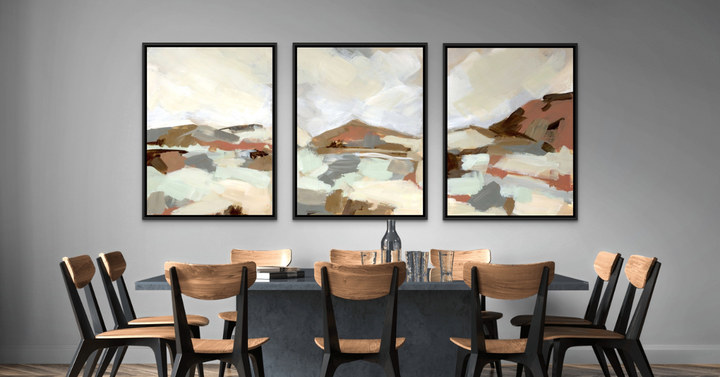
TIP #3: The right spacing
If you're planning on hanging artwork next to each other, we recommend spacing the artwork about 3" to 6" apart. You don't want to hang them too close resulting in a cluttered, claustrophobic feel. And you don't want them too far apart so that they feel disconnected. Same as the above tip, these measurements can be played with depending on the space.
TIP #4: The right distance
When placing artwork above a piece of furniture we recommend hanging it about 4" to 8" above the piece. The most common mistake is that our customers will hang artwork too high, which disconnects the art from the furniture. If you have super tall ceilings and it feels odd to hang the artwork so low, try stacking two or three pieces vertically!